How Long Does It Take To Install Epoxy Flooring? – What’s The Downtime?
Epoxy is a type of resin flooring that, when mixed with a hardener, forms a robust, chemically resistant surface. Homeowners love it for its ability to endure heavy foot traffic, resist chemicals, and maintain a polished appearance over time. Whether it’s enhancing the look of your garage, providing a seamless surface in healthcare facilities, or adding a glossy finish to retail spaces, epoxy has many applications.
Epoxy flooring is an excellent choice if you’re in the market for durable, aesthetically pleasing flooring options. This resilient surface has gained widespread popularity in both residential and commercial spaces due to its impressive durability and versatile applications. However, the installation process for epoxy flooring takes some time—it involves a meticulous procedure with specific steps that impact downtime.
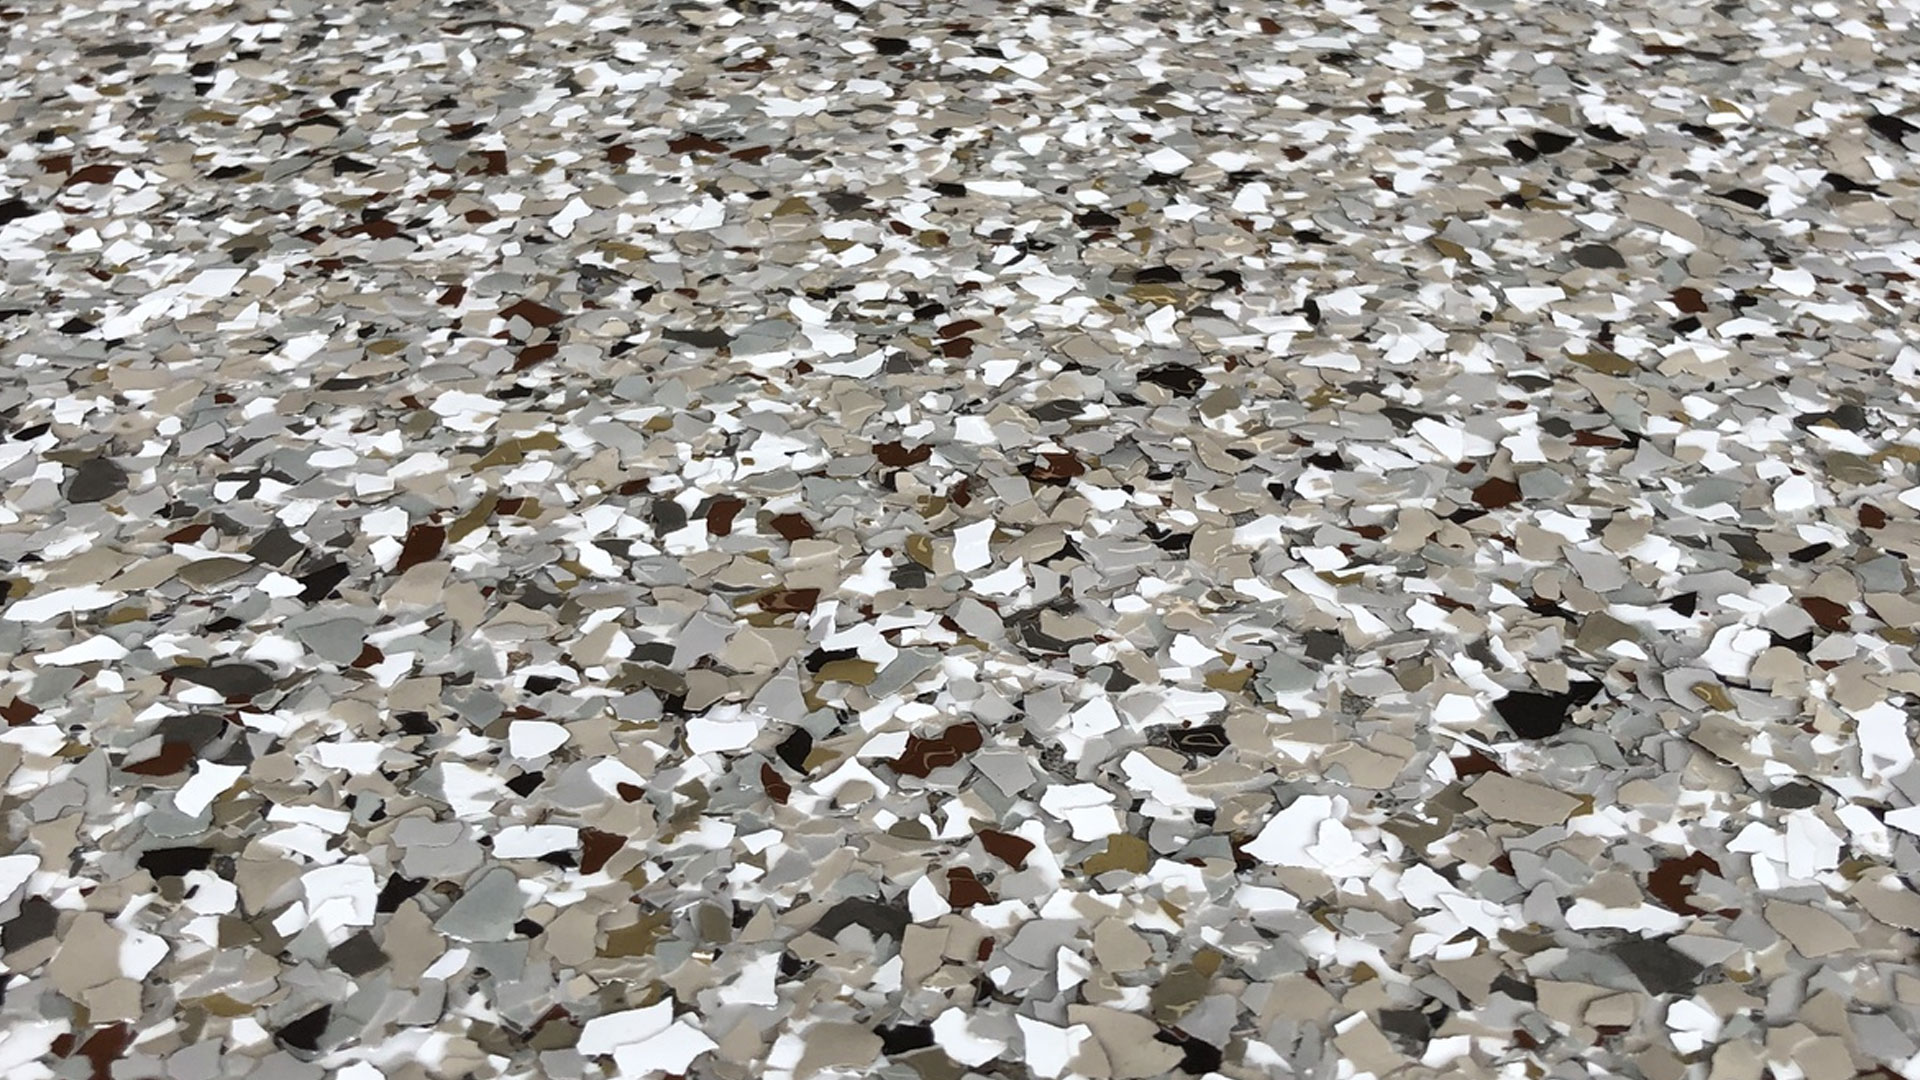
Understanding the time required for epoxy flooring installation and the associated downtime is crucial for homeowners, businesses, and contractors alike. The installation process involves careful preparation, application, and curing stages. Understanding the downtime involved is important, especially in commercial or industrial settings where interruptions can impact your business.
In this blog, we’ll dive into the details of epoxy flooring installation and explain the factors that influence how long these projects take. We’ll also give you some maintenance tips you can use after your new epoxy floor has been installed. Let’s start by talking about the 3-step installation process for epoxy flooring.
The Epoxy Floor Installation Process
There are three steps to epoxy flooring installation: preparation, application, and curing. Each step is vital in creating a flawless surface that stands up to foot traffic, chemicals, and other challenges.
Step 1: Preparation
Before applying epoxy, we prepare your substrate. This phase ensures a clean, even surface for adhesion and durability.
Preparation involves rigorous cleaning, removal of existing concrete coatings, and addressing any imperfections or damages on the substrate. We use techniques like shot blasting, grinding, and chemical etching to create an ideal surface for epoxy application.
We also have to fix any cracks, holes, or uneven areas during this phase. Repairing the substrate ensures a smooth foundation for the epoxy, preventing future issues like bubbling or delamination.
Step 2: Application
Once the substrate is prepared, the application of epoxy involves precise steps to achieve the desired finish and durability. Epoxy resin requires accurate mixing with a hardener or curing agent in specific proportions. Our team always follows manufacturer guidelines to ensure the resin’s effectiveness.
Next, we apply the epoxy using techniques like roller application, squeegee spreading, or trowel application, depending on the finish you want and the nature of your substrate. Each method offers unique advantages in coverage and thickness.
The time required for epoxy application varies based on the area’s size, complexity, and the number of coats applied. Larger areas or intricate designs require more time.
Step 3: Curing
After application, the epoxy needs to be left alone so it can cure. During this step, the epoxy resin and the curing agent undergo a chemical reaction, forming strong cross-linked polymer chains. This transformation changes the epoxy from a liquid to a solid, durable surface.
Factors like temperature, humidity, and ventilation significantly impact the curing process. Following the recommended curing times and environmental conditions ensures the epoxy achieves its desired strength, durability, and appearance.
Estimated Timeframes for Resin Flooring Installations
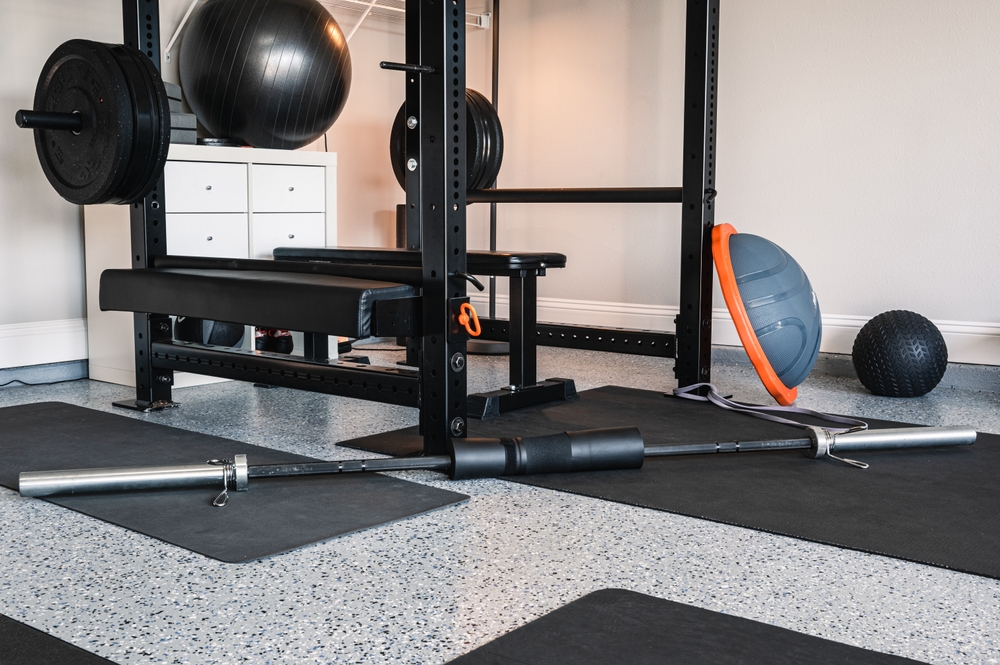
In general, residential epoxy flooring takes 2 to 4 days to install and cure, while commercial and industrial epoxy flooring takes over a week to install and cure. Here are timeline estimates for each type of project:
Residential Installations: 2 to 4 Days
Surface Preparation (1 Day):
- Inspection and Cleaning: A thorough assessment of the garage floor, addressing oil stains, debris, and existing coatings.
- Repairs and Leveling: Filling cracks, repairing imperfections, and ensuring a level surface.
Application (1-2 Days):
- Priming the Surface: Application of a primer coat to enhance adhesion and promote a smooth finish.
- Epoxy Application: Meticulous spreading of epoxy, ensuring even coverage and potentially incorporating desired designs or textures.
- Optional Topcoat: Adding a clear topcoat for added protection and gloss (if desired).
Curing Period (1-2 Days):
- Initial Setting (Gel Time): Within a few hours, the epoxy begins to set, transitioning from a liquid to a gel-like state.
- Full Cure: Achieving maximum strength and durability may take up to 72 hours or more, depending on environmental conditions.
Commercial Installations: A Week or More
Extensive Preparation (2-3 Days):
- Surface Preparation: Thorough cleaning, removal of old coatings, and addressing larger-scale imperfections or damages.
- Leveling and Repair: Extensive repairs, leveling, or addressing uneven surfaces in vast areas.
Application (3-4 Days):
- Multiple Coats: Applying multiple epoxy coats for enhanced durability and specific requirements of industrial settings.
- Complex Designs or Markings: Incorporating complex designs, color-coding, or safety markings where they are needed.
Curing Period (2-3 Days):
- Multiple Coats’ Curing: Each layer of epoxy requires adequate curing time between applications to ensure optimal bonding and strength.
- Final Cure: Achieving the final hardened state of the epoxy surface, allowing for heavy use and industrial operations.
Factors That Influence Epoxy Installation Times
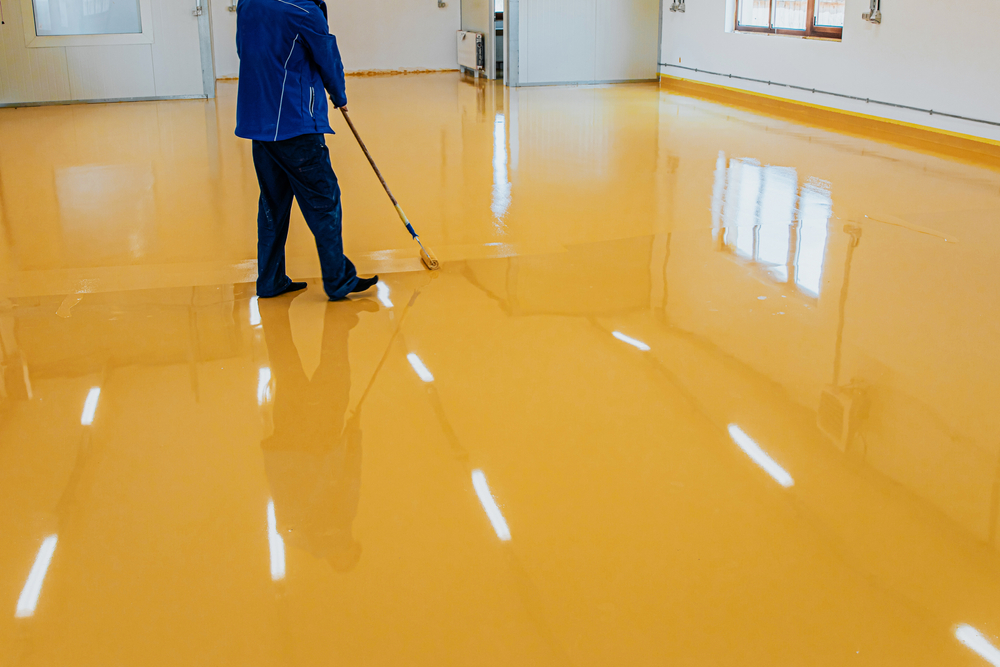
The installation time for an epoxy floor coating, including the curing period, varies based on these factors:
Surface Preparation
The condition of the substrate significantly impacts installation time. Extensive cleaning, repairing cracks, leveling, or addressing imperfections require varying durations.
Project Size and Complexity
The square footage and intricacy of the design affect installation time. Larger areas, complex patterns, or multiple coats demand more time for application and curing.
Environmental Conditions
Temperature, humidity, and ventilation directly influence curing times. Warmer temperatures expedite curing, while higher humidity might prolong the process.
Epoxy Formulation and Type
Different epoxy formulations have different curing times. Some are designed for rapid curing, while others might take longer to achieve full strength and durability.
Number of Coats Applied
Multiple coats for specific effects or enhanced durability add to the installation time. Each layer requires its own application and curing periods.
Complexity of Design or Patterns
Elaborate designs, intricate patterns, or custom markings extend installation time due to the precision and detail involved in application.
Surface Temperature and Moisture Content
Ideal surface temperatures and moisture levels ensure optimal epoxy bonding and curing. Extremes in temperature or excessive moisture might delay curing.
Ventilation and Air Circulation
Proper ventilation aids in the curing process by expelling moisture and facilitating a more uniform curing environment, affecting overall installation time.
Curing Time Between Coats
Adequate curing time between epoxy coats ensures optimal adhesion and bonding, adding time to the overall installation.
Application Technique and Tools Used
Different application methods (brushing, rolling, spraying) and tools might influence efficiency and precision, impacting the installation duration.
These factors collectively determine the timeline for epoxy flooring installation. Depending on the specific project requirements, environmental conditions, and the desired outcome, each factor plays a role in determining the overall installation time.
Maintenance and Care Tips for Newly Installed Epoxy Floor Coating
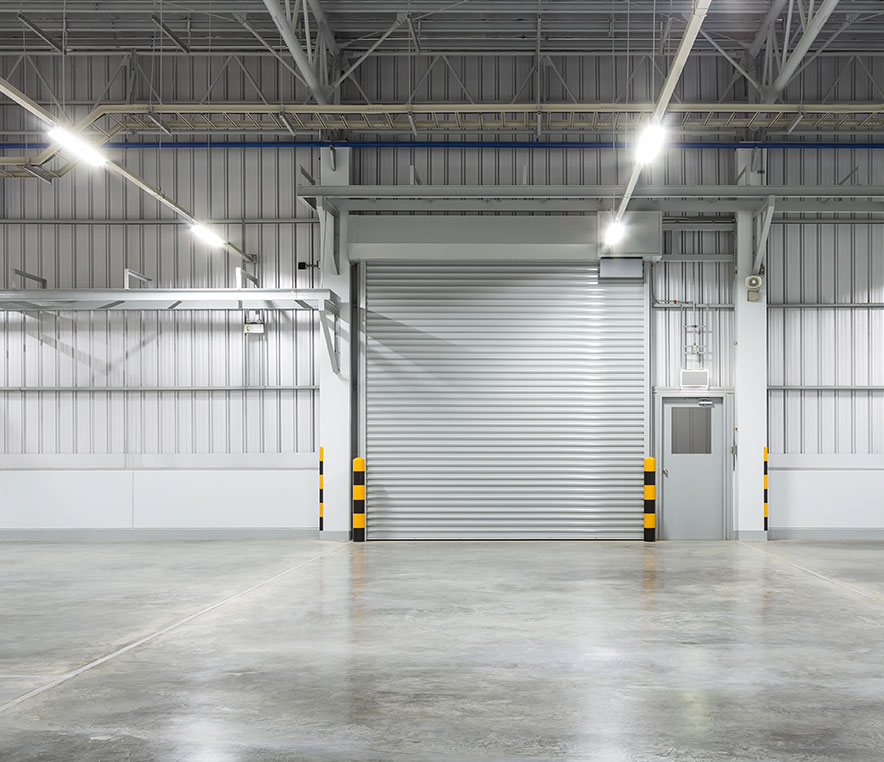
Proper care after installation is crucial in preserving the appearance and durability of your new epoxy floor. Here’s a list of essential maintenance tips to ensure your epoxy flooring retains its quality and aesthetic appeal for years to come.
Initially Limit Traffic
During the initial curing phase, limit foot and vehicle traffic as per manufacturer recommendations to allow the epoxy to fully set and gain its strength. Create designated walkways or access routes to prevent unnecessary stress on the curing epoxy.
Clean Regularly with Mild Solutions
Use pH-neutral cleaners or a mixture of mild soap and water for routine cleaning. Avoiding harsh chemicals that could potentially compromise the integrity of the epoxy surface is crucial. Use a soft mop or microfiber cloth for cleaning to maintain the floor’s gloss and appearance. Consider periodic deep cleaning using specialized epoxy-friendly cleaners to remove embedded dirt without causing damage.
Clean Spills Quickly
Wipe up spills immediately to prevent staining or potential damage to the epoxy surface, especially from oil, acidic substances, or harsh solvents. For oil or chemical spills, use absorbent materials like cat litter or sawdust to soak up the spill before cleaning. Mild dish soap or specialized epoxy cleaners can help in efficiently removing stubborn stains without affecting the floor’s finish.
Protect from Sharp Objects
Avoid dragging heavy or sharp objects across the floor to prevent scratches or gouges on the epoxy surface. Use furniture pads or protective mats under heavy items or furniture legs to prevent direct contact and potential damage.
Regular Inspection and Minor Repairs
Periodically inspect for damages or scratches. Address minor repairs promptly, using recommended epoxy touch-up kits or specialized epoxy fillers to prevent further deterioration. Smooth out any uneven areas or blemishes to ensure a seamless surface.
Avoid Extreme Temperatures
Maintain moderate temperatures to prevent rapid temperature changes that might impact the epoxy’s integrity. Avoid using heating appliances directly on the floor, especially during the initial curing period.
Furniture Protection
Use protective pads under furniture legs or heavy items to prevent indentation or scratching on the epoxy surface. Regularly check and replace these pads to prevent accumulation of debris or wear that could potentially damage the floor.
Prevent Water Accumulation
Avoid leaving standing water or allowing puddles, especially in moisture-prone areas like bathrooms or kitchens. Use mats or rugs in areas prone to water spills or near entryways to trap moisture and prevent it from accumulating on the floor.
Consider Periodic Recoating
Depending on wear and tear, consider periodic recoating to maintain your epoxy’s appearance and protective qualities. Consult with epoxy flooring professionals to determine the appropriate time for recoating based on the floor’s condition and usage. Recoating helps renew the floor’s shine and protective layer.
Follow Your Manufacturer’s Guidelines
Always refer to the specific care and maintenance instructions provided by your epoxy manufacturer for best practices. Follow recommended guidelines for cleaning solutions, curing periods, and any specialized care instructions provided by the manufacturer to maintain the epoxy’s optimal condition and performance.
Contact Us for Epoxy Flooring in Columbus Ohio
At Concrete Flooring Solutions of Ohio, we’re committed to not only installing exceptional epoxy flooring but also ensuring that our clients have the knowledge and tools to maintain its brilliance. Following these maintenance and care tips for your newly installed epoxy flooring is key to preserving its appearance, durability, and longevity.
We understand that each floor tells a unique story and requires personalized attention. That’s why, beyond these guidelines, our team is here to offer tailored advice and support for your epoxy flooring needs. We believe that a well-maintained floor not only enhances the aesthetic appeal of your space but also stands as a testament to its resilience over time.
Do you need epoxy flooring in Columbus, Ohio? Contact us today to tell us about your project and get a free estimate.
